We've gathered examples of the most popular Single Sign-On (SSO) softwares and prepared setup instructions step by step.
SSO feature is available only in the Ultimate plan.
Azure AD
1. Navigate to Azure Active Directory and open Enterprise applications;

2. Click on the Add new application button and follow the Azure Guide;

3. Open the added application on the Enterprise applications list;
4. Navigate to the Single Sign-on tab on the left side menu under the Manage section and select the SAML method;

5. In the first step, Basic SAML Configuration input the following data:
- Identifier (Entity ID): https://app.timecamp.com/saml/audience
- Reply URL (ACS URL): https://app.timecamp.com/saml/acs
- Sign on URL: https://app.timecamp.com/auth/login

6. From the 3rd step download the Certificate (e.g. Certificate Base64). Next, copy its content and input it into the Certificate filed in TimeCamp SSO settings;


7. In the 4th step you can find information that is required in TimeCamp SSO settings:
- Input Azure AD Identifier into Issuer URL field
- Input Login URL into SSO URL field


8. Save settings and navigate to the Users and groups tab on the left side menu under the Manage section;
9. Click on the Add user/group button and assign users who are supposed to log in to TimeCamp with an SSO feature;

Google Workspace
1. Log in to Google Admin Console and navigate to the Apps section on the left side menu and open Web and mobile apps;

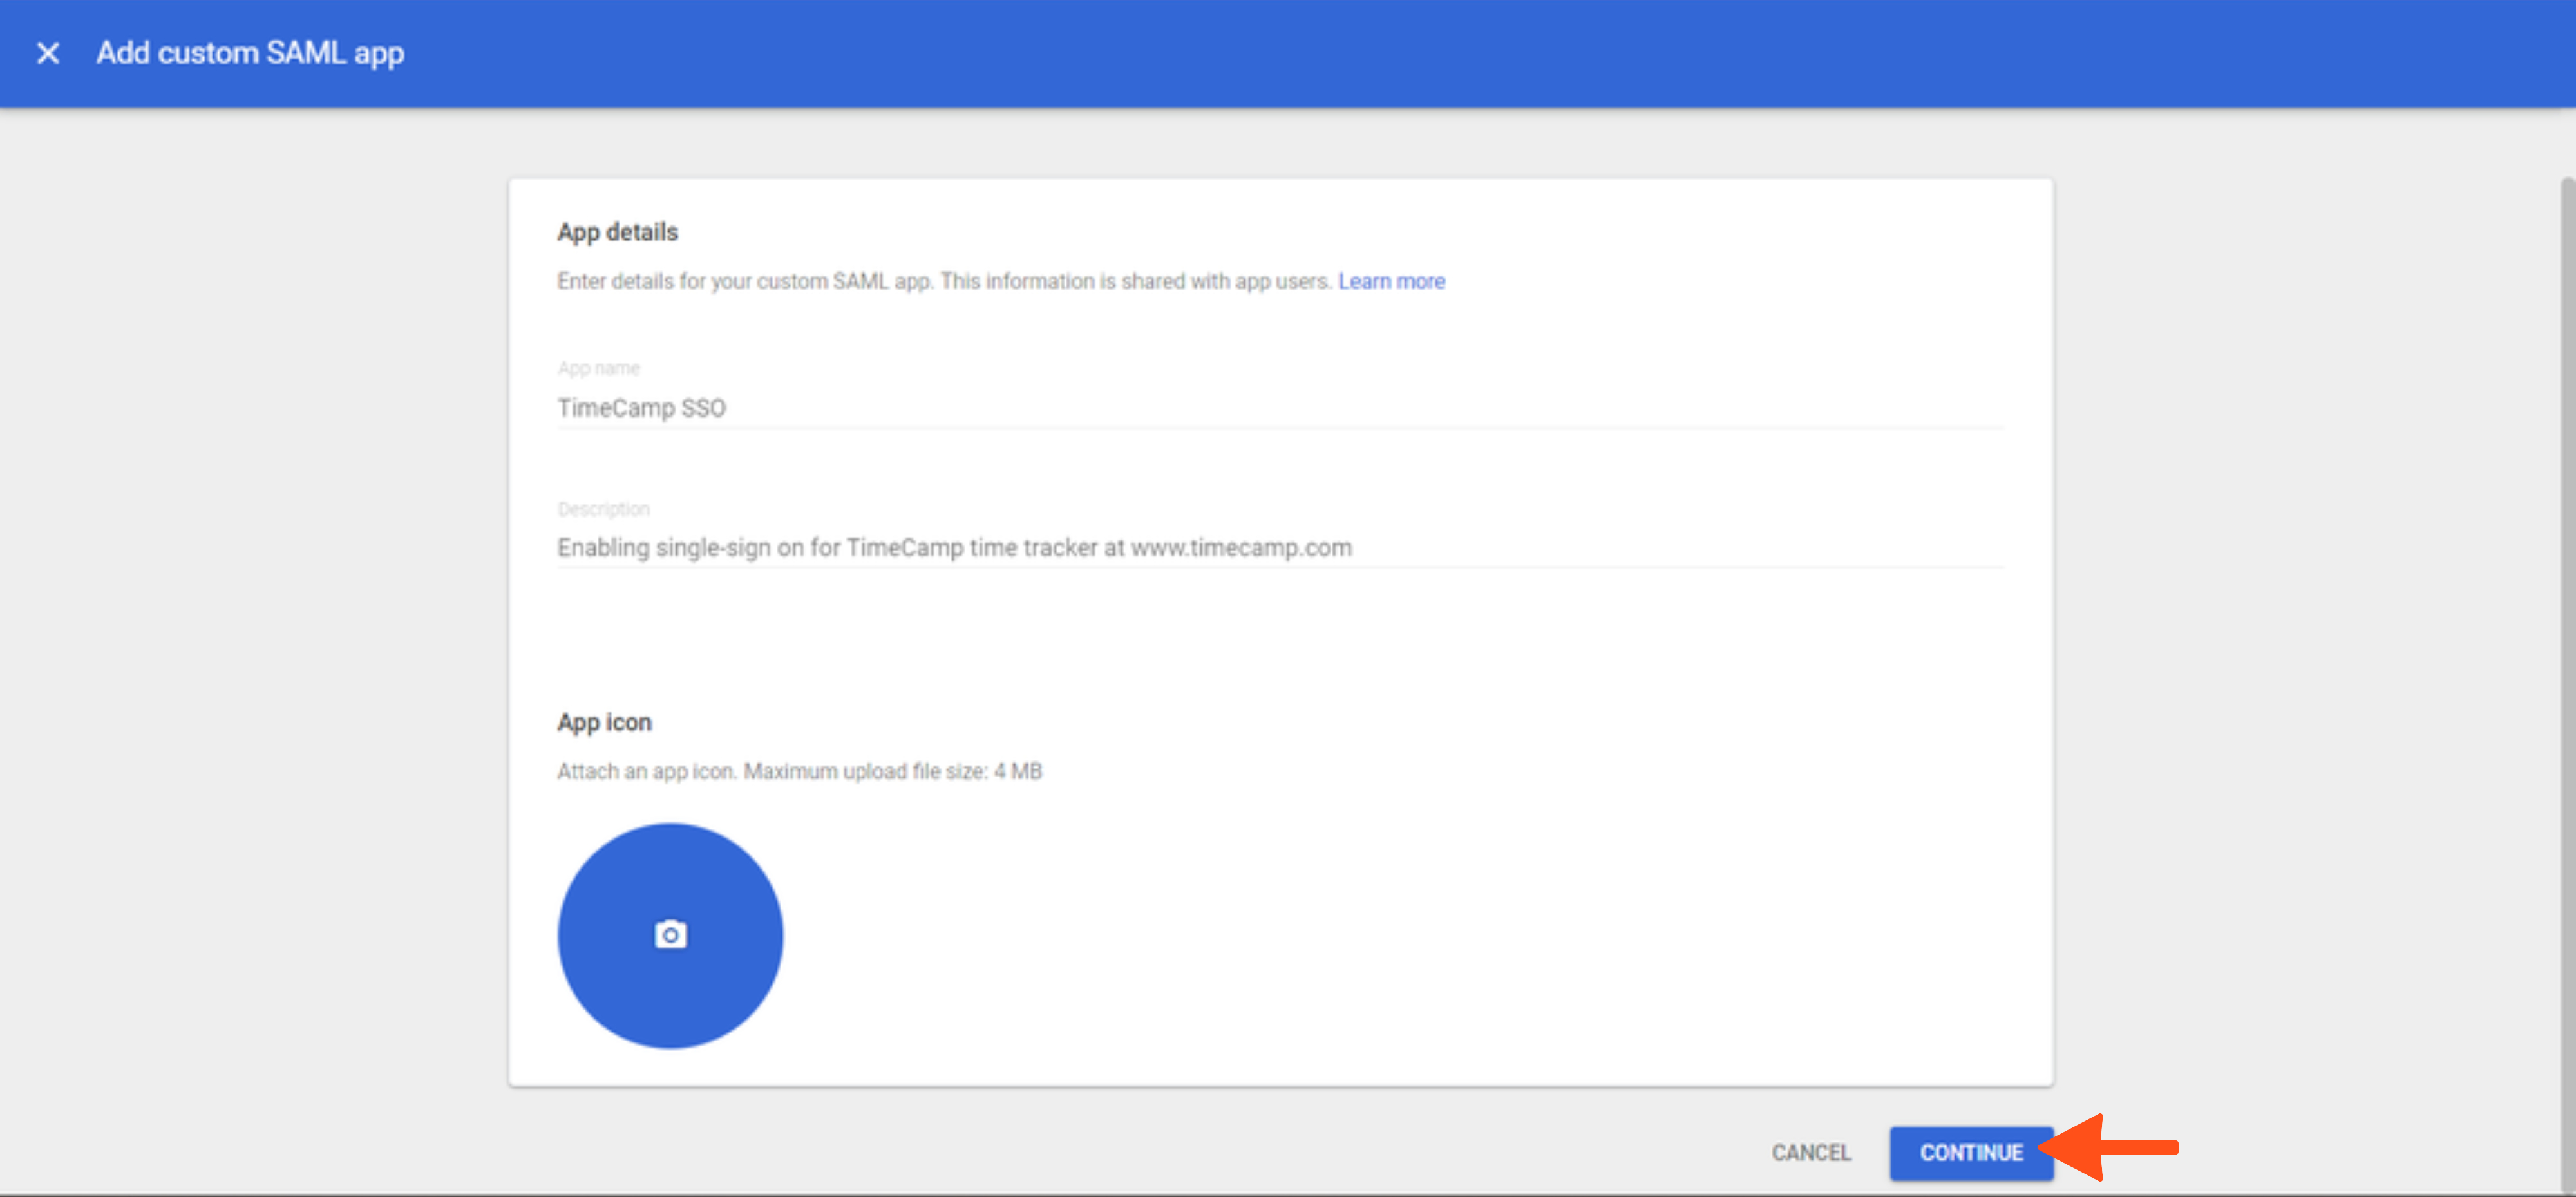
2. Next click on the Add app option and select Add custom SAML app from the menu;

3. Fill in App details and click on the Continue button;
4. In the second option you can find information that is required in TimeCamp SSO settings:
- Input SSO URL into SSO URL field
- Input Entity ID into Issuer URL field
- Copy the Certificate and input it into the Certificate field in TimeCamp;


5. In the Service Provider Details section input the following data:
- ACS URL: https://app.timecamp.com/saml/acs
- Entity ID: https://app.timecamp.com/saml/audience
- Start URL: https://app.timecamp.com/auth/login

6. Proceed to the last step and click on the Finish button;

Okta
1. Navigate to the Admin Console in Okta;

2. Open the Applications tab on the left side menu;

3. Next click on the Create App Integration button;

4. Select SAML 2.0 option;

5. In the first step fill in TimeCamp app details and click on the Next button;

6. In the second step, Configure SAML input the following data:
- Single sign-on URL: https://app.timecamp.com/saml/acs
- Audience URI (SP Entity ID): https://app.timecamp.com/saml/audience

7. That's it, finish the configuration process. You'll be redirected to the newly created app in Okta. Navigate to its Sign On tab and scroll down to the bottom of the website. Open the link under View SAML setup instructions.


8. Copy the provided values and input them in TimeCamp SSO settings (on TimeCamp website):
- Input Identity Provider Single Sign-On URL into SSO URL field
- Input Identity Provider Issuer into Issuer URL field
- Copy the Certificate and paste it into the Certificate field


9. Navigate back to the newly created app in Okta and open its Assignments tab. Here you can give access to TimeCamp SSO only to certain people, groups, or to everyone.
